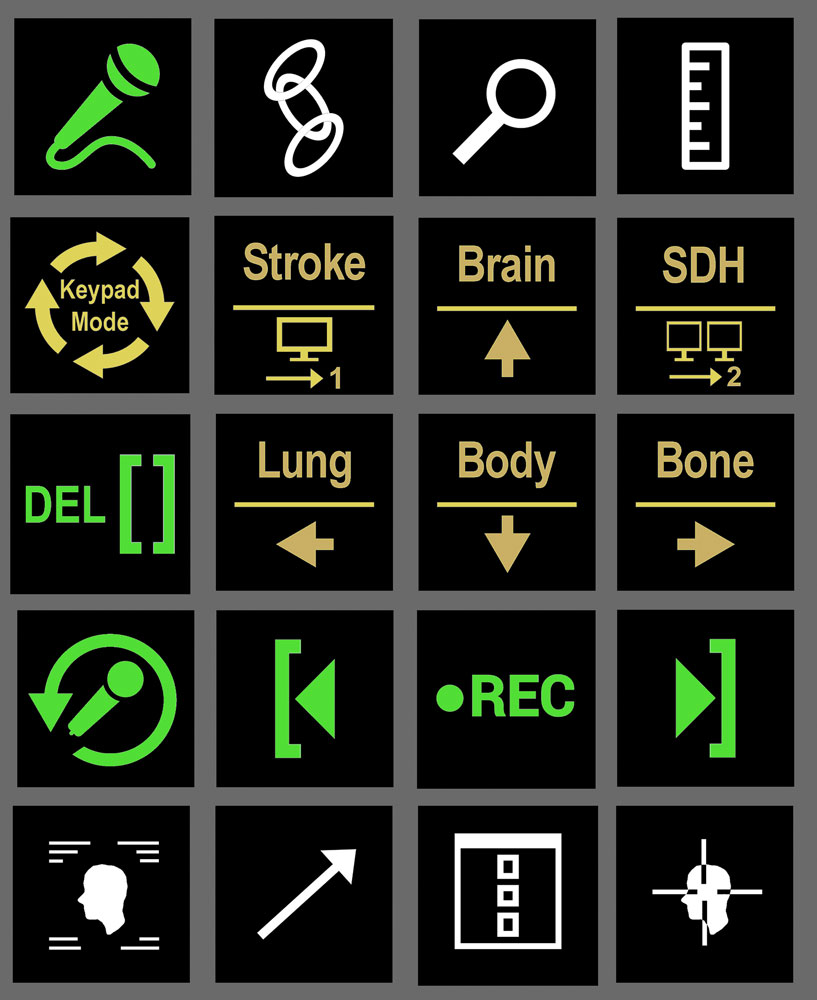
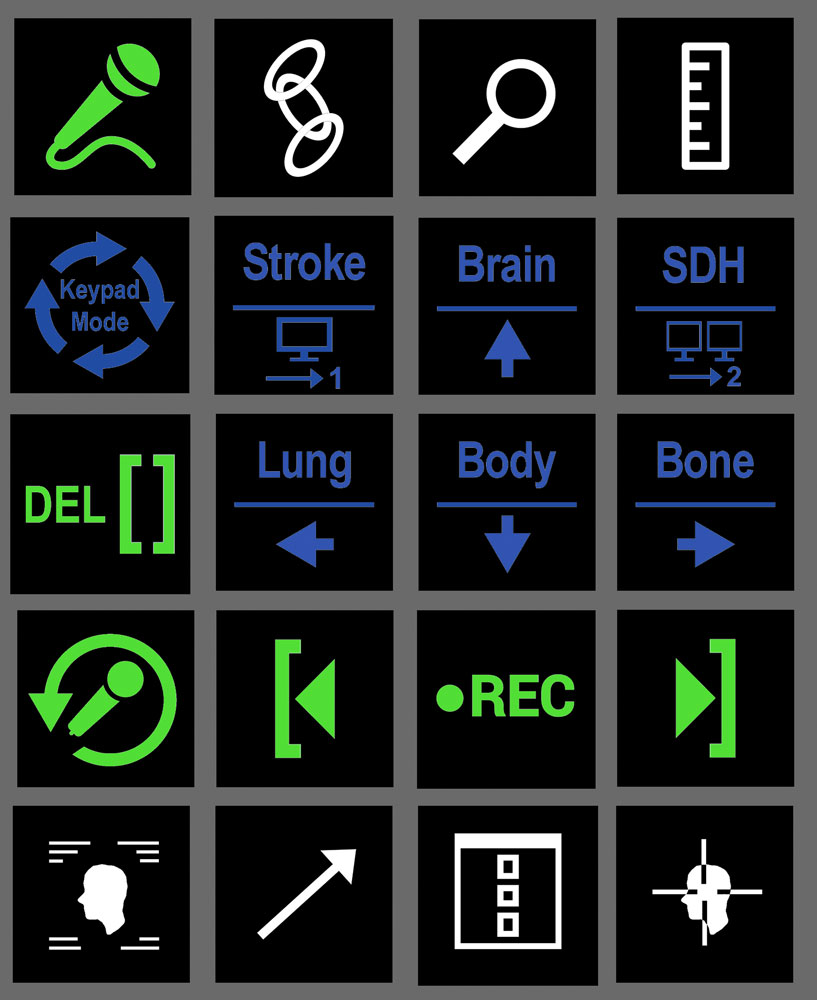
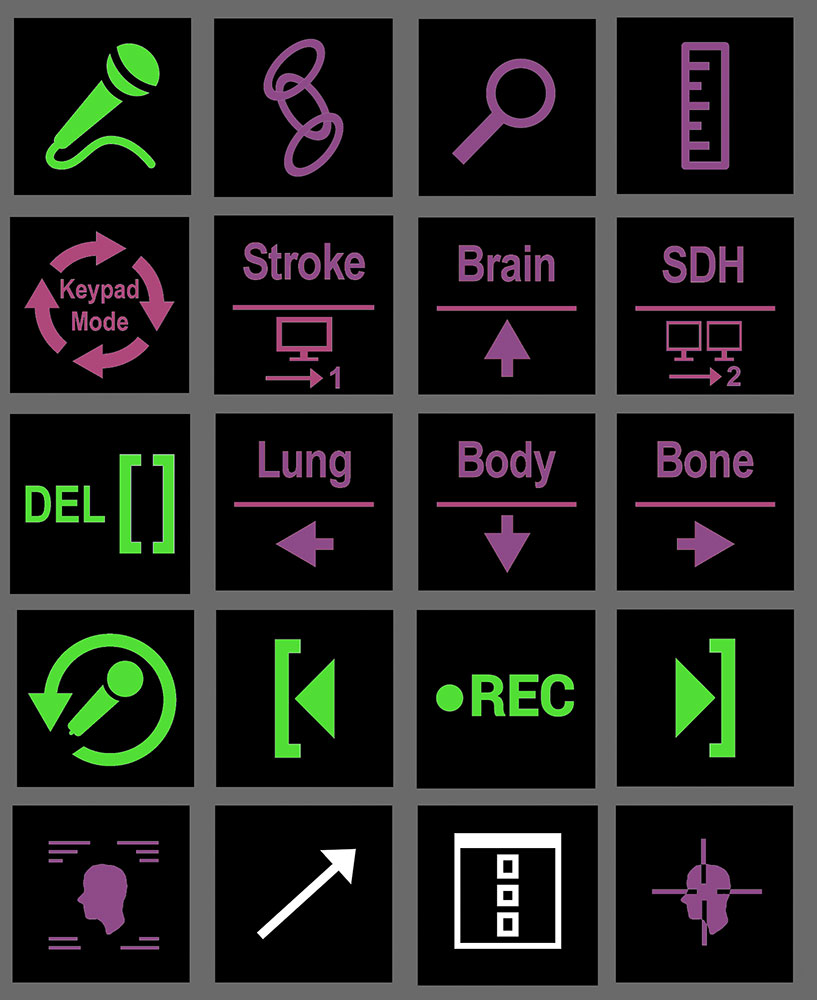
This is an interactive guide. Mouse over the different keypad layouts below for an explanation of the functions.
Many buttons have two or three functions based on “Single Click”, “Double Click”, or “Long Press”.
CT Mode (Blue)
This mode is intended for reading CT. However, most functions are still available here through double click functionality so this can also be a “primary” setting for most studies.
The Blue lit keys primarily trigger preset CT window/level settings, with additional functions through double clicks and long presses. White key functions are identical to the General mode.
Note that the functionality of the keypad is dependent on having the Autohotkey scripts running. If the keypad does not seem to work, check to see if the little green “H” icons in the system tray are present; there should be 2 of them. A reboot usually fixes it as the scripts are set to startup automatically upon login.
Keypad Troubleshooting
- If the keypad STOPS responding to button presses, FIRST thing to try is simply press and release the “Windows” “Shift” “Ctrl” and “Alt” keys on the regular keyboard, ONE at a time. 90% of the time this will fix the issue.
There is a rare bug in the script I wrote that keeps one of the keys above “stuck” down. Pressing those keys on the keyboard “unsticks” them. - If that doesn’t work, unplug the keypad USB cable AT THE COMPUTER side and find a DIFFERENT empty USB port to plug it back into. That resets the connection from the computer end.
- Rebooting the entire computer may also help.
- Extremely rarely, a failure of another USB device (usually the Logitech mouse) can interfere with other USB devices and stop them from working intermittently.
Useful Keyboard Shortcuts
GENERAL SHORTCUTS:
ESC (Escape) – Resets all window level settings to the original setting when study was opened.
Tab or Shift-Tab – Page through series in a study.
Ctrl+Z – Undo an action in either IMPAX or FFI, depending on which application is in focus.
Ctrl+Y – Redo an action in either IMPAX of FFI, depending on which application is in focus.
BARCO SPOTVIEW SHORTCUTS:
Ctrl+Shift+X – Regular Spotview. Use mouse wheel to change the spot size.
Ctrl+Shift+Z – Spotview with Magnification. Use mouse wheel to change the spot size.
Ctrl+Shift+S – Inverted Spotview. Use mouse wheel to change the spot size.
Ctrl+Shift+A – Inverted Spotview with Magnification. Use mouse wheel to change the spot size.
RECORDING INDICATOR SOUND CUE SHORTCUTS:
Ctrl+Shift+1 – No Sound Cue when microphone is on(this is the default, and on reboot the script will default to no sound)
Ctrl+Shift+2 – Soft click repeating when microphone is on.
Ctrl+Shift+3 – Marimba C5 note repeating when microphone is on.
Ctrl+Shift+4 – Marimba B5 note repeating when microphone is on.
Ctrl+Shift+5 – Bell1 sound repeating when microphone is on.
Ctrl+Shift+6 – Bell2 sound repeating when microphone is on.
Ctrl+Shift+7 – Bloop sound repeating when microphone is on.
FL.ESPORTS Mechanical Keyboard LIGHT CONTROL:
Fn+Del – Stop flashing/swirling lights on keyboard (sometimes it will revert to this default setting).
Fn+Shift (right Shift) – Change backlight color.
Fn+Up Arrow – Increase backlight brightness.
Fn+Down Arrow – Decrease backlight brightness.
Fn+F12 – LOCK or UNLOCK keyboard. ***IF keyboard does not respond to keypresses but is still lit up, try this***


